What to Check Before Installing New Gutters
Gutter installation preparation starts with a careful roof-edge check. Inspect the fascia, soffits, drainage paths, slope, and access points. Check the old gutters, too. Repair damaged fascia before work starts. Mark safe downspout discharge areas. Remove items and plants from the work zone. Your contractor should confirm all measurements before installation. The crew should check gutter size, hanger spots, flashing, and water flow. Good planning helps prevent delays. It also helps the new system stay secure. Proper gutters carry rainwater away from your foundation.
Get a Free Estimate
All Pro Roofing and Gutters treats this as a home repair project. It also helps control rainwater around your home. A careful check connects roof-edge signs with needed repairs. It also helps set the right drainage plan before work begins.
What Should You Check Before Installing New Gutters?
Gutter installation inspection should check the roofline, fascia, soffit, drainage, slope, and mounting points. The installer should measure each roof section. They should also check water paths and flashing. The team should confirm gutter size and downspout locations. Downspouts must move water away from the foundation.
Most jobs also need a check of nearby walkways and plants. Review outdoor lights, utility lines, and ladder access. A written roof drainage check can show where water starts. It can also show where water should leave the property. Gutter Installation and Gutter Guards may help limit future upkeep.
Signs the Roof Edge Needs Attention Before Installation
Roof-edge signs may point to needed repairs. These signs don't show every hidden problem. A trained inspection should check the wood and nearby roof parts.
Don't cover these signs with a new system. Find the source first. This helps prevent leaks, sagging gutters, and failed screws.
Does Damaged Fascia Need to Be Repaired Before Gutters?
Damaged fascia usually needs repair or replacement before new gutters are installed because gutters need strong wood for support. Rot, cracks, loose boards, and water damage can cause screws to fail. The installer should fix these problems before mounting the gutter system.
The fascia board runs along the roof edge. It often holds hidden hangers or open brackets. Weak wood may look fine at first. It can later pull loose under the weight of water, leaves, and winter debris.
Fascia repair may mean removing a damaged section. It may also mean replacing wood and sealing exposed edges. The crew must correct the water source, too. A thin trim board should not cover rotted wood. Screws need strong wood beneath them.
We also check the soffit, drip edge, flashing, and nearby siding. The gutter should sit below the roof runoff path. It shouldn't block air flow or let water run behind it. A sagging roof edge may need more than trim repair.
Once the surface is strong, the crew can place secure hangers. They can set the planned gutter pitch and seal the joints. This helps protect the new system. It also lowers the risk of another gutter replacement.
How Are Downspout Locations Planned?
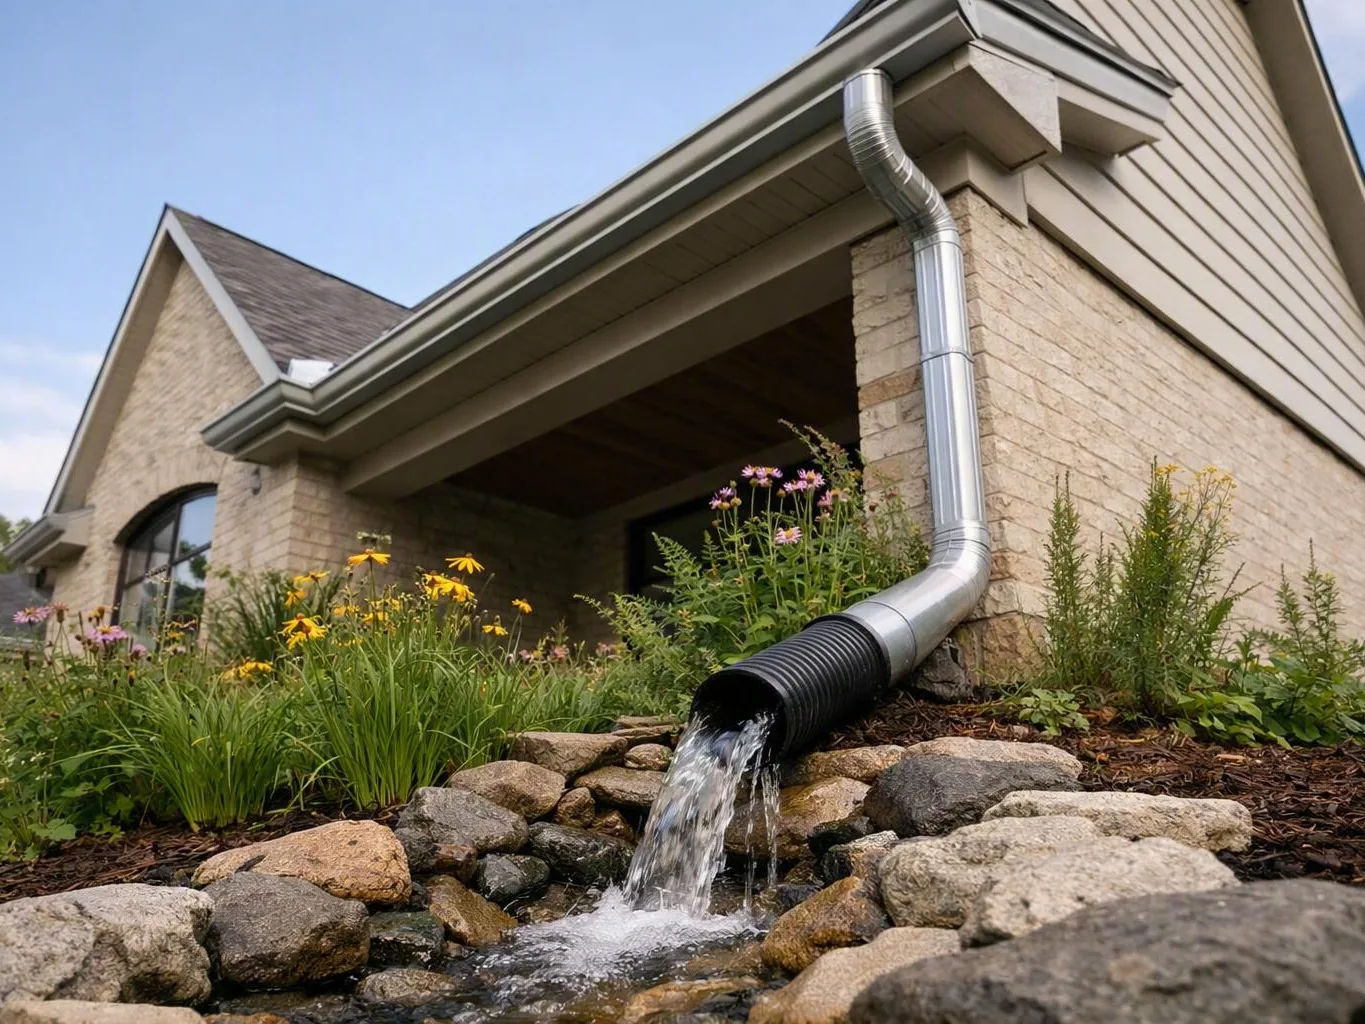
Downspout locations are planned by tracing roof drainage areas, estimating water volume, and choosing outlets that move runoff toward safe discharge points. Installers check gutter length, roof valleys, corners, paths, plants, drains, and the foundation. These checks help stop water from pooling beside the home.
| Planning factor | What the installer checks | Why it matters |
|---|---|---|
| Roof drainage area | Which roof planes feed each gutter run | Heavy runoff may need more outlets or larger gutters |
| Roof valleys | Where concentrated water reaches the roof edge | Valleys can cause overflow if flow is sent too far |
| Gutter outlet | The best point for water to enter a downspout | A well-placed outlet improves flow and limits standing water |
| Discharge route | Walkways, gardens, slopes, drains, and soil conditions | Surface drainage should not create a hazard or erosion |
| Foundation protection | Where a downspout extension can end safely | Water should move away from the foundation instead of pooling beside it |
A downspout is the vertical pipe that carries water away. The number of outlets depends on roof size and gutter length. It also depends on expected rain flow. Large roofs and steep sections can fill gutters fast. The old layout may not have enough capacity.
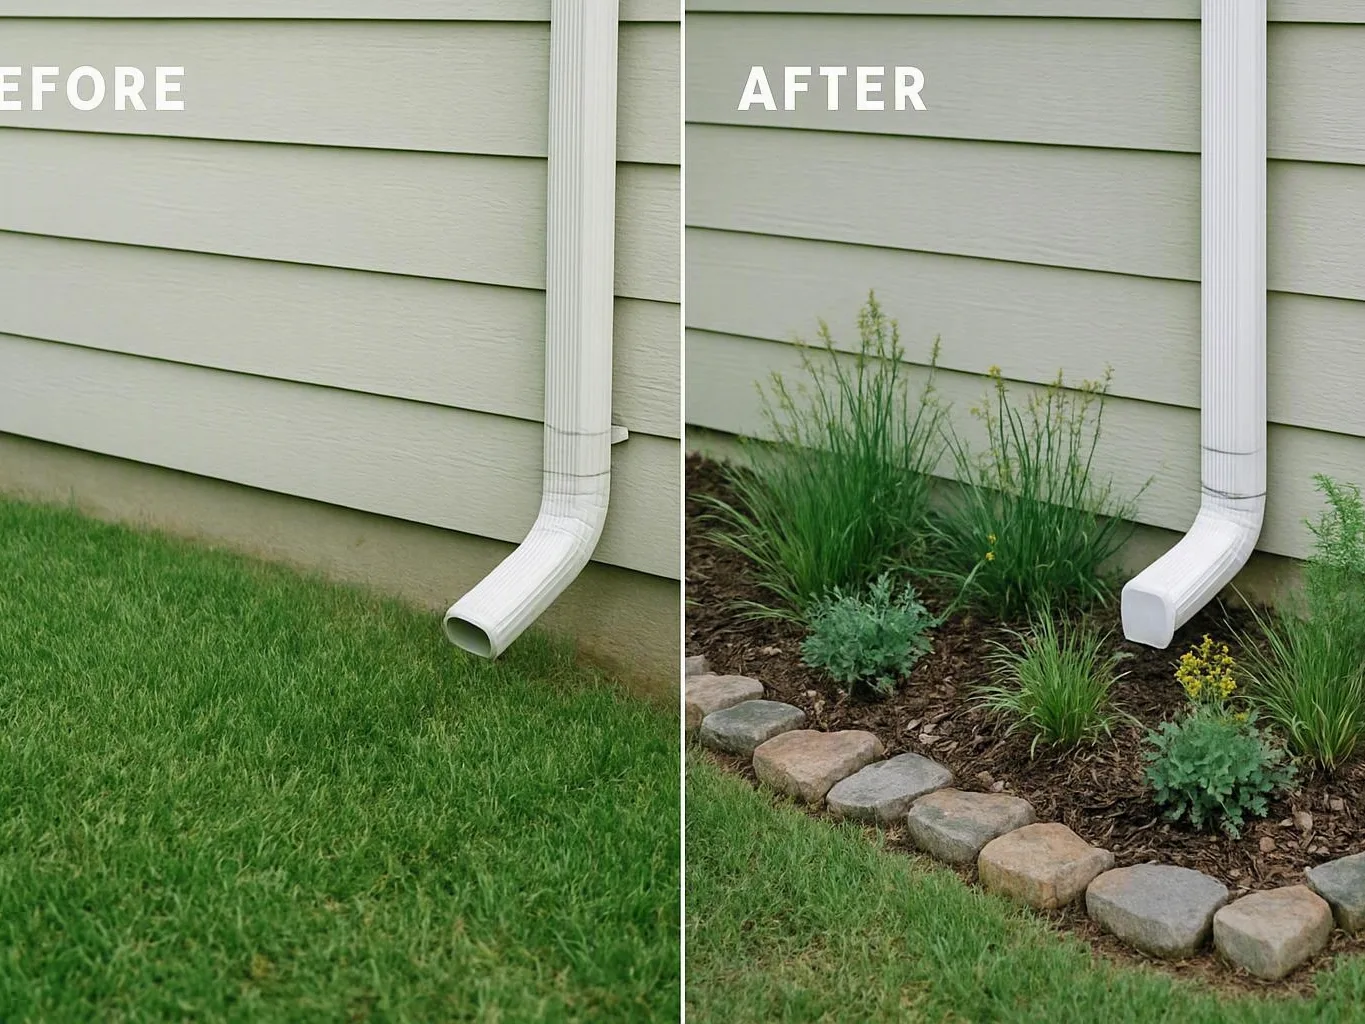
Downspout extensions may end on a stable slope or splash block. They may also connect to a drainage swale or approved underground system. The endpoint shouldn't face a neighbor's home, foundation, basement door, or walkway. It shouldn't cause soil erosion. We also check the ground to prevent new puddles.
Good downspout placement balances water flow with daily use. A spot may work on paper but block a gate. It may harm a garden or cross a busy path.
Should Old Gutters Be Removed Before New Ones Are Installed?
Old gutters should generally be removed before replacement gutters are installed because removal exposes hidden damage. It also allows accurate measurements and secure fastening. Reuse may work when the old system is sound and compatible. Damaged, small, poorly sloped, or leaking gutters should be removed.
Gutter removal gives the installer a clear view of the roof edge. It also shows old screw holes. The work may reveal rot, cracked trim, missing flashing, bent metal, or water stains. An old gutter can force the new one into the wrong position.
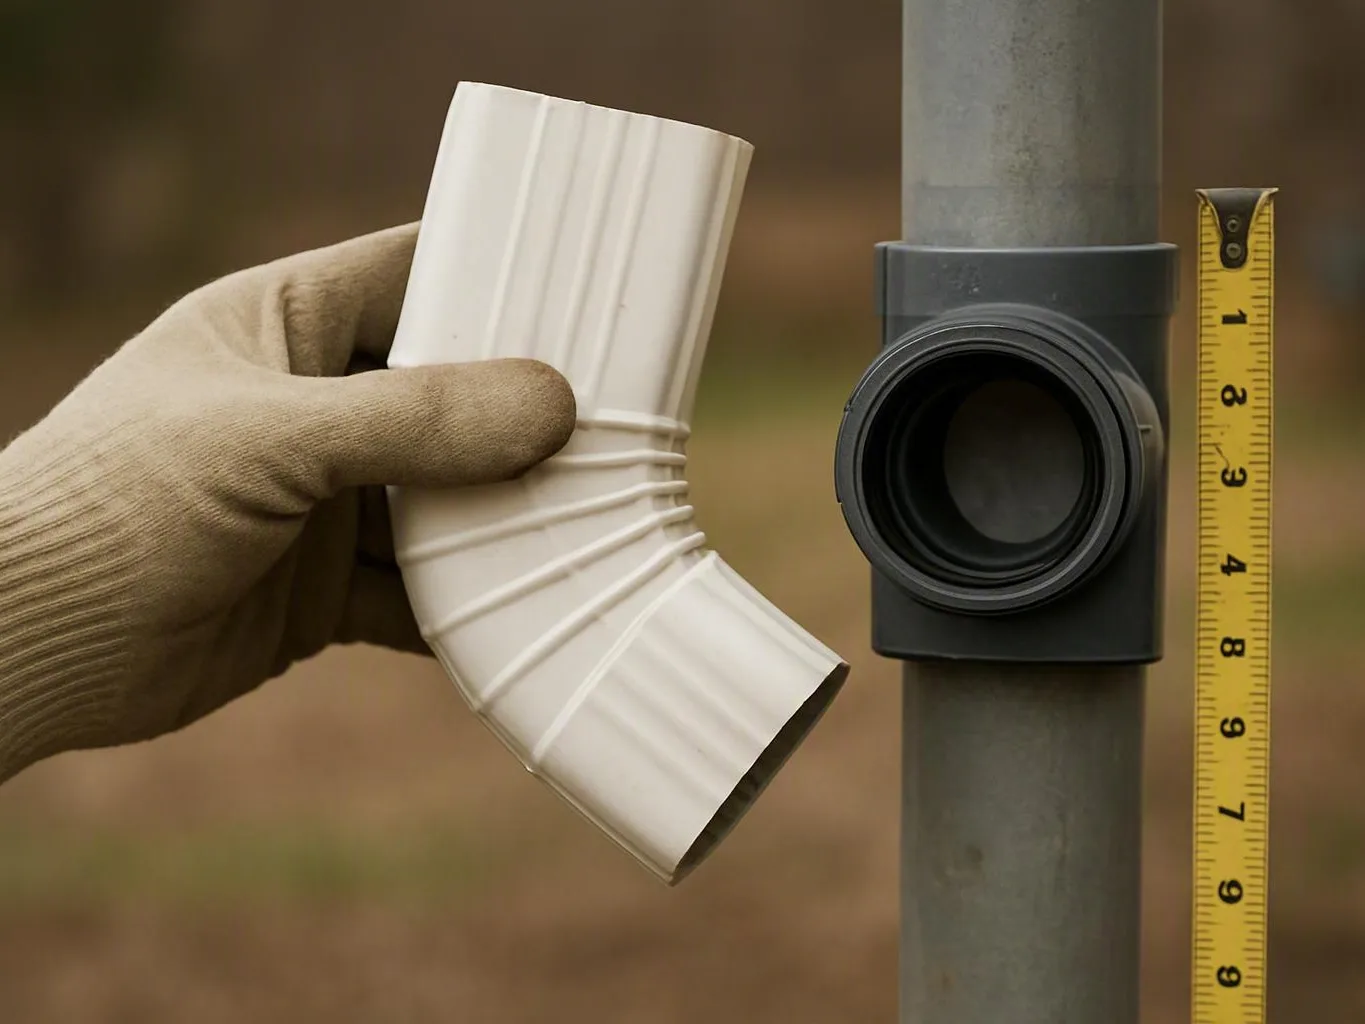
Replacement gutters should match the real roof sections. Don't measure from old gutters alone. Older channels may have the wrong length or slope. They may also serve a smaller roof area. A roof addition can make the old layout unsuitable.
In some cases, a sound channel may stay in place. The installer must confirm that it is stable and watertight. It must also have the right slope and outlet connections. Old screws may not work because their holes can be loose or large.
Removing the old system also supports cleaner flashing. It gives hangers a better place to attach. We can then choose a full replacement, partial replacement, or repair.
What Should Homeowners Do to Prepare for Gutter Installation?
Homeowners should prepare for gutter installation by clearing access around the walls, moving vehicles and outdoor items, trimming obstructive branches, protecting fragile landscaping, securing pets and children, and identifying outdoor water or electrical hazards. They should also discuss removal, fascia repairs, downspout discharge, and cleanup with the installer.
Access matters most on tall walls and narrow side yards. It also matters on sloped ground and soft soil. Homeowners shouldn't move ladders during the work. They also shouldn't attempt roof-edge work. Our team can explain the work plan before starting. We can review repairs and areas that must stay clear.
Most homes need preparation before the crew arrives. A short property walk-through may help. Work often takes one day to several days. Time depends on roof size, stories, access, fascia repair, removal, and downspouts.
Common Causes of Gutter Installation Problems
Gutter installation problems commonly result from incorrect measurements, weak fascia, insufficient slope, undersized gutters, and poor downspout placement. These issues can cause leaks, overflow, sagging, and standing water. They can also send water near the foundation. A pre-installation check helps find these risks early.
These problems often combine. A small gutter may have too little pitch and one faraway outlet. It may overflow during a storm, even when it's new. Fixing the layout first works better than adding patches later.
How to Prevent Problems with a New Gutter System?
Homeowners can prevent new gutter problems by completing a roof-edge inspection, repairing fascia, confirming gutter dimensions, setting a consistent pitch, using secure hangers, and extending downspouts away from the foundation. They should also plan regular upkeep. Leaves, dirt, and seasonal debris can block water flow.
A good system is more than a straight metal channel. It creates a clear path from the roof to a safe discharge area. Gutter Installation in Memphis, TN, should fit each home's roof, soil, plants, and foundation drainage.
We can review the need for repairs, larger gutters, extra outlets, or another extension route. The goal is steady water flow and secure mounting. It also includes foundation protection and easy upkeep.
Questions About Gutter Installation and Gutter Guards
What Should I Check Before Installing New Gutters?
Check the roofline, fascia board, soffit, flashing, gutter pitch, roof valleys, and planned hanger locations. Confirm roof measurements, gutter capacity, water-flow paths, downspout outlets, discharge distance, landscaping, ladder access, and foundation drainage before materials are installed.
Does Damaged Fascia Need to Be Repaired Before Gutters?
Usually, yes. Gutters need sound fascia or another approved structural attachment surface. Rot, cracks, looseness, and water damage can cause fasteners to fail. Repair or replace damaged structural wood before mounting the new channel.
How Are Downspout Locations Planned?
Installers trace roof drainage areas, consider roof valleys and gutter length, estimate water volume, and select outlets that direct runoff toward safe discharge points. They also review walkways, landscaping, underground drains, surface drainage, and the distance required for foundation protection.
Should Old Gutters Be Removed Before New Gutters Are Installed?
Old gutters should generally be removed first. Gutter removal exposes hidden fascia damage, old fastener holes, incorrect measurements, poor slope, and damaged flashing. A sound existing system may allow limited reuse, but leaking, undersized, or poorly sloped gutters should be replaced.
What Should Homeowners Do to Prepare for Gutter Installation?
Clear walls, gates, driveways, and ladder areas. Move vehicles and outdoor furniture, protect fragile landscaping, trim obstructive branches, secure pets and children, and identify exterior water or electrical hazards. Also confirm removal, fascia repairs, discharge routes, access, and cleanup with the installer.
A careful roof drainage check can help your system work in changing weather. It can also reveal problems before they grow. If you need help with the roof edge, discharge plan, or Gutter Replacement, contact our team through our contact page.
Related Resources
How Much Does Gutter Installation Cost in Memphis?
Memphis gutter installation cost
What It CostsHow Much Do Downspout Installation and Extensions Cost?
downspout installation and extension cost
What It CostsHow Much Does a Gutter-Connected Rainwater Harvesting System Cost?
rainwater harvesting gutter system cost
Compared ToShould You Repair or Replace Your Gutters?
gutter repair vs replacement